Most people who are considering the purchase of a robot lawn mower are trying to make their lives easier. One concern that people often have is with the installation process, and whether this will be a big undertaking.
Thankfully, I can reassure you about the installation process. No technical knowledge or skills are required to install a robot lawn mower. Most mowers can be installed in a few hours and it is fairly simple
There are two very important things to mention, before discussing the installation process. These two points will save you a lot of frustration.
Ensure That The Robot Lawn Mower Is Suitable For Your Garden
Some robot lawn mowers have limitations in their performance. From the size of lawn that they are able to cut, to the gradients of slope that they can manage. It is important to read about the model you are planning to purchase to ensure that it is suitable for your garden. I have written an article outlining the things you need to consider before buying a robot lawn mower.
Read The Manual Carefully
The installation process is not difficult, but if you deviate from the instructions, you can cause yourself a lot of headaches. Whenever I purchase new technology, I normally get stuck in first and read the manual later. Please learn from my mistakes and read the manual or quick start guide first.
Placement Of The Charging Station
The first thing to do is to either make a sketch of your garden or take a walk around your garden to determine the best location for the charging station. You need to have this in range of a power source. Some people will have an external power socket, but many wont. This is an important consideration. You can certainly run a weather proof extension cable from a power source in your garage, but it’s not really a long term solution. It may be that you need to consider having an external power source installed.
If you do go down this route, you may wish to consider other uses for external power, such as other garden tools, external lighting or Christmas lights. It may influence you placement of an external power source and hence the placement of the robot lawn mower charging station.
The charging station needs to be in a location where the robot lawn mower will be able to dock with the station without difficulty. For this reason, most manufacturers advise placing it on a relatively flat area of your lawn. It is also recommended that you leave a 1.5 metre straight section of lawn on each side of the charging station, to ensure that the robot lawn mower has no difficulty navigating back to the charging station.
Charging stations must be placed on the grass, and cannot be placed on a paved area. This is due to several factors. Firstly, the charging station is screwed to the ground by long plastic screws, which would not be suitable for use on a paved area. Secondly, the perimeter wire needs to be pegged to the ground in a loop, starting and finishing at the charging station. If your charging station is on a path, the boundary wire will be sitting on a paved area, looking unsightly and may present a tripping hazard.
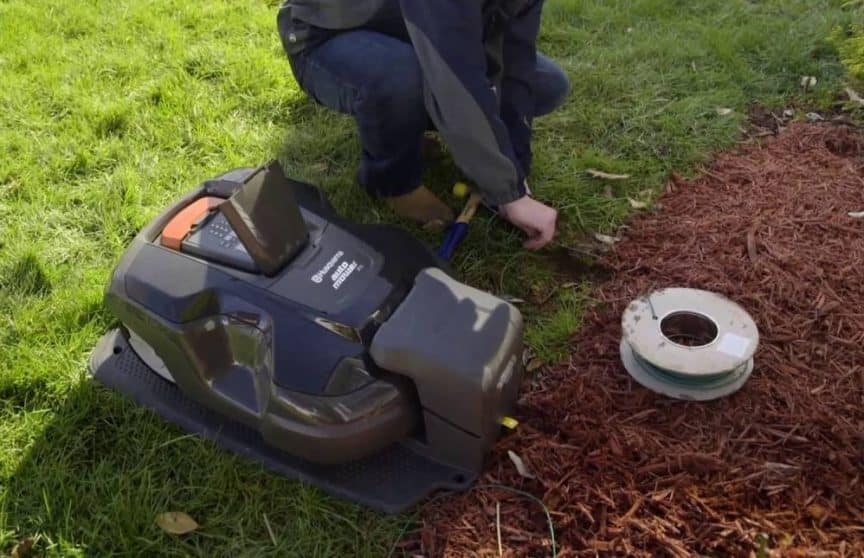
Once you have chosen a location for the charging station, you secure it in place with the supplied screws, which anchor it to the grass. You can then link the power cable up to the charging station and the power socket.
Once this is done, I would recommend putting your robot lawn mower in the docking station, so that it can be charging while you are installing the boundary wire.
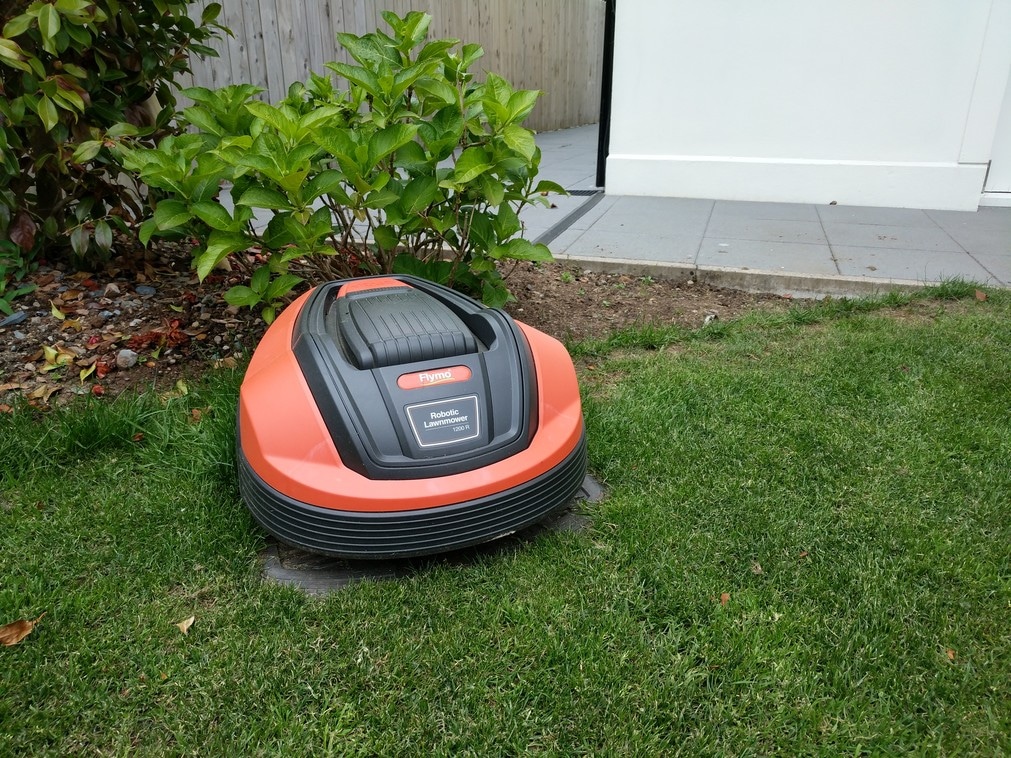
In my own garden, I was keen to have the charging station in an area that wouldn’t be seen from the patio, as they are not generally appealing to look at, and can negatively impact the look of the rest of your garden.
My own external power source is attached to the house, and I have my charging station sited across a narrow path and in front of a small flowerbed. I currently have the main power cable running across the path, with a cable protector holding the power cable in place preventing it from being a tripping hazard.
Prior to purchasing my robot lawn mower, I had assumed that I could have placed the charging station on the patio, against the house. This highlights how important it is to plan ahead, to avoid a situation which is less ideal. I have plans in due course to have an additional power source installed in the garden, and I will move the charging station at this point.
The Boundary Wire
The boundary wire runs in a loop around the edge of you lawn and connects to the charging station at each end. This forms a low voltage electromagnetic signal in the wire, which the mower can detect to identify the edge of the lawn.
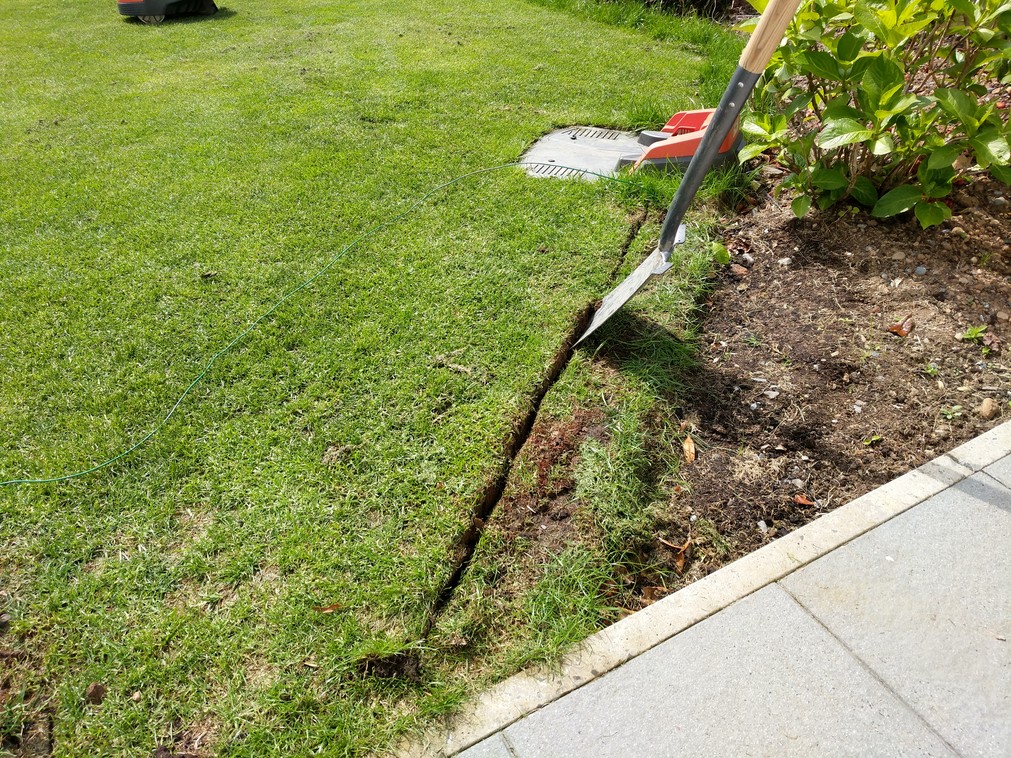
The boundary wire can be pegged to the ground or buried under your lawn at a depth of approximately 5-10cm. There are advantages and disadvantages of both.
Pegging the wire to the ground is the quicker option and allows you to adjust the wire quickly and easily if adjustments are required during the first few days of operation. The grass will grow over the top of the boundary wire within a few months, so it will not be visible. On the negative side, pegging the wire restricts the height at which you can cut your lawn during the first few months. If you like to have a short lawn, there is a risk of the blades catching and damaging the wire.
Burying the wire is the option that I would definitely recommend. You may wish to do this initially, or wait until a number of weeks after installation, to ensure the robot lawn mower is running smoothly.
There are numerous benefits to this, and it really does not take much more time than pegging the wire to the ground. Burying the wire enables you do undertake routine lawn maintenance, such as scarifying or raking your lawn without concern that you will damage the perimeter wire. It enables you to set the cutting height to your desired level without worrying about damage to the wire. If you do not bury the wire, there is a risk that as the grass starts growing, it may push part of the boundary wire up off the ground and into range of the blades, so if you are pegging the wire down, you should do a check of the boundary wire every few days for the first 6-8 weeks.
One handy tip if you are burying your perimeter wire, is to do this after a period of rain, as the ground will be much softer and it will be so much easier to cut into the grass to create a channel for the perimeter wire.
It is very important to follow the instructions in the manual regarding what distance to place your boundary wire from the edge of the lawn. This differs depending on whether your lawn borders a path, flower bed or a wall.
I made the mistake of trying to place my boundary wire a little too close to my flower beds at first, to avoid the risk of a strip of grass next to the flower bed from being left uncut. Unfortunately, this resulted in my robot lawn mower regularly falling into my flower beds, so I had to re-site my boundary wire in these locations to correct this problem. My advice is to follow the instructions to the letter to avoid this problem.
Dealing With Obstructions And Trees

If you have an island in the middle of your lawn, you will need to mark this out with boundary wire also. The boundary wire must be a continuous loop, so this involves laying the perimeter wire out like shown in the picture above.
It is important not to let the perimeter wire cross, as this will cause the robot lawn mower to malfunction. Therefore, while the two ends of the wire should be installed very close together on the route to the obstruction, they should not cross.
When the two pieces of boundary wire are laid close together, the signal is cancelled, so the mower will ignore this section of perimeter wire, but will avoid the obstruction in the middle of your lawn.
An alternative to laying boundary wire around obstacles in the middle of your lawn, is to let the robot’s collision sensors detect and avoid the collision. This will work for trees and garden furniture, but obviously not for flower beds.
The Guide Wire
In addition to a boundary wire, another section of the same type of wire is used as a guide for the robot lawn mower to find the far side of the lawn and to find its way back to the charging station when its batteries are running low.
For people with a regular shaped lawn, the guide wire should finish on the opposite side of the lawn to the charging station. For people with a narrow or hard to access area or lawn, the guide wire should terminate here.
A helpful point is to determine where you plan to end the guide wire before installing the perimeter wire. In this way, you can then leave a redundant loop of perimeter wire at that point, making it easier to connect the boundary wire and guide wire.
The guide wire should be laid straight out the front of the charging station for the first two metres to ensure that the robot lawn mower is able to dock with the charging station without any issues.
Continue to lay the wire in a direct route, until you reach the point where you are going to attach it to the perimeter wire.
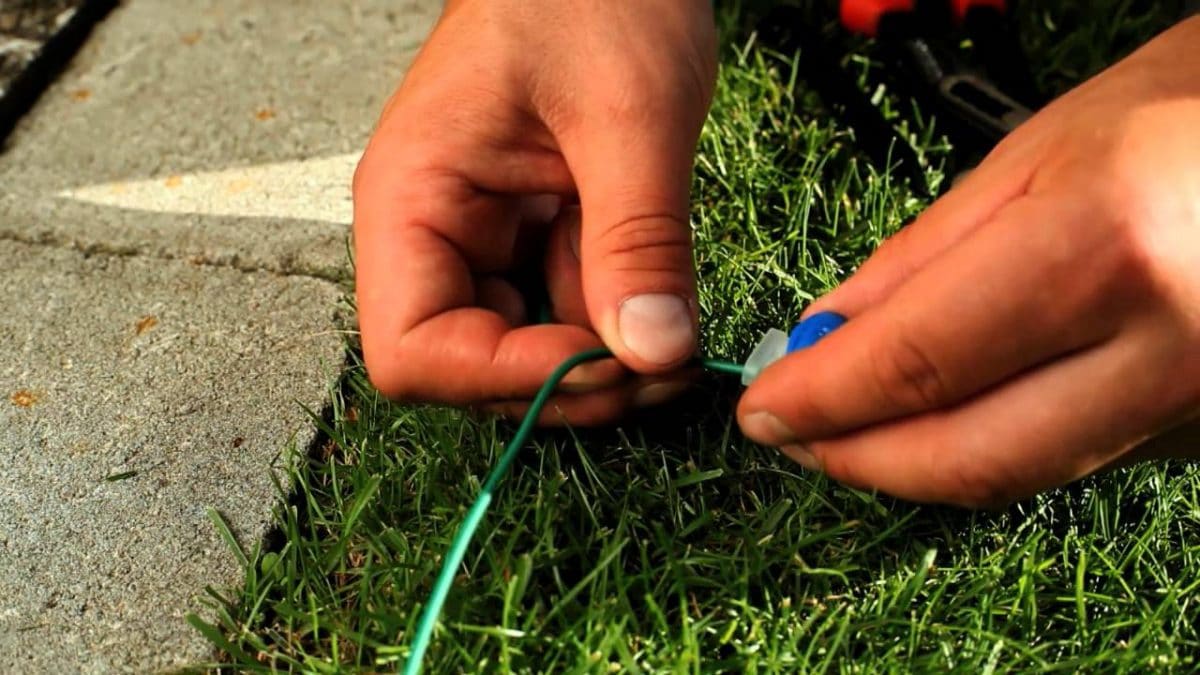
At this point, you should use one of the supplied couplers to splice the wire. You need to cut the perimeter wire and insert each end into the coupler and then insert the guide wire into the third hole in the coupler. Use a polygrip or a pair of pliers to close the coupler, ensuring a good connection. The coupler can then be buried under the grass.
Secondary Areas
If your lawn is separated into more than one section, you have several options to ensure that each section of lawn is cut.
The first option is to connect the second area to the existing loop of boundary wire. Pick an appropriate point to run the boundary wire from the first area to the second area, run the two ends of the perimeter wire close together, ensuring that they do not cross, and then lay the perimeter wire around the edge of the second area of lawn.
Once this is done, you can simply lift the robot lawn mower onto the second area of lawn as required, set it to manual mode, and it will work until it runs out of battery, at which point, it can be lifted back to the charging station.
Alternatively, you could purchase a second charging station, which are normally available from the manufacturer or from numerous parts retailers. You can then install the second charging station on the second area of grass. You can move your robot lawn mower from one section of the lawn to the other every few days to ensure that both sections of grass remain neatly cut all the time.
A third option is possible if you have a path connecting two sections of lawn that the robot mower could travel down without getting stuck. You could make a continuous loop with the boundary wire, creating a channel along the path that the robot mower could use, allowing it to move between the two sections of grass without any user input. To lay the boundary wire in this manner, you could either lay the wire along the side of the path, lift the paving and lay it under the path, or fix the wire to the path using a suitable cable cover. This method is not detailed in the manual of any robot mower that I have seen (and I have read most), but it is a solution that I have successfully employed in the past without issue at all.
Conclusion
Although I have gone into more detail about the installation of robot lawn mowers than I had originally planned, I hope I have answered the question of “are robot lawn mowers hard to install?”
The process is really very simple and most mowers provide good manuals and set up guides. It is good to know what to expect prior to purchasing a robot lawn mower, so hopefully this article has been useful. If you have any questions, please contact me or leave a comment. I have written plenty more useful information about robot lawn mowers. Here is a useful article I wrote outlining how robot lawn mowers work and here is one which discusses whether robot lawn mowers are safe.